This is ARF kit and demands some knowlege and a lot of patience.
So let's start.
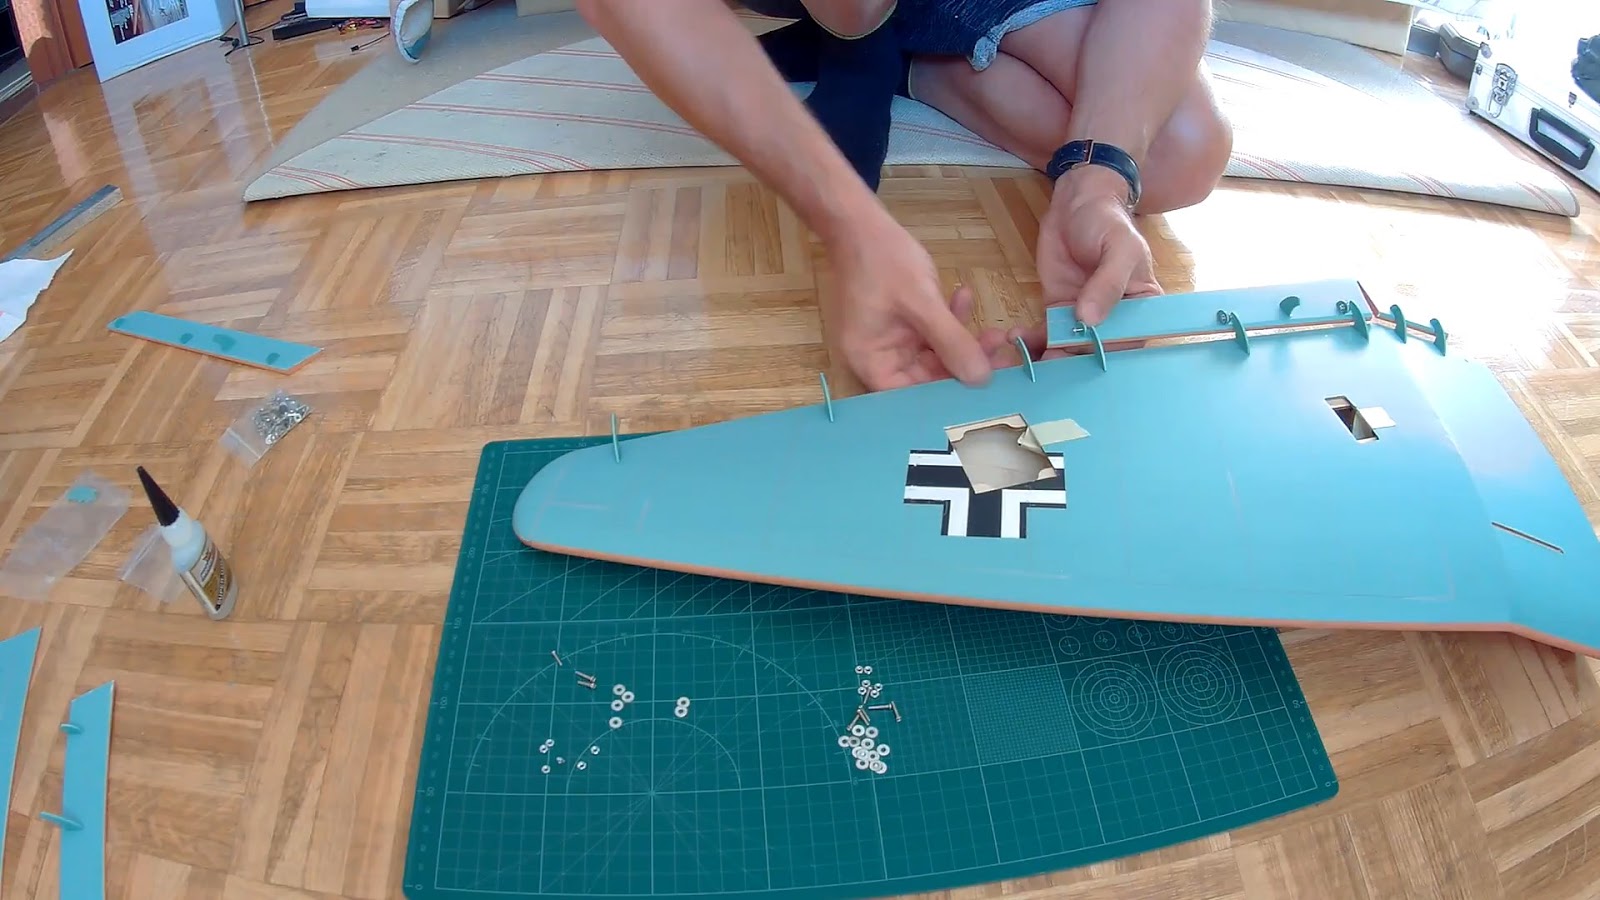
First is the wing, I would suggest you that you read manual very carefuly, count those hinges, they are different for flaps and ailerons. Also, be careful with static flaps, flaps and ailerons since there is left and right side ones.
Test fit everything before gluing.

Hinges are glued with CA glue. Each slot is cut for particular hinge type, but as said before, test fit hinges before gluing them.
Control surface hinges are all the same and you can't miss there.
When glue dries, mount control surfaces to hinges using M2 macnine screws provided. Use loctite on your bolts and don't tight too much those bolts, control surfaces need to move easily.
I would suggest that at this time you insert servo extension leads in both wings and fix them with some masking tape.
Mounting landing gears is easy, I used 5 min epoxy for wooden blocks that come into landing gear cowling (manual says use CA, it's up to you).

Prepare all the screws needed and mark position for them. Landing gear struts fit easy into the wing.

Again, manual says that you should use CA glue to close landing gear hatches, but this time I used just some piece of tape in case that I would need to open them.
If you haven't inserted servo extension leads before, do it now.

Glue main wing together with epoxy glue and let it dry.
Fuselage is much easier to assemble, just be careful to insert elevator control first, then horizontal stabiliser through fuselage slot.
I used 5 minute epoxy for gluing horizontal stabiliser.
Insert CA hinges and connect elevator control surface and glue it witg CA glue.

Rudder control is also easy one, first glue with CA tail wheel landing strut (check fit before doing that) and then using CA hinges glue the rudder to the vertical stabiliser and screw tail wheel bracket to the fuselage.
Horizontal stabiliser support is glued to the fuselage (you need to measure and cut the slot with hobby knife) and screwed to the stabiliser.

Slide the push rods for elevator and rudder and screw ball link clevis on them. Connect clevis to the control horns with M2 machine screws and secure with loctite.
Mount main wing on the fuselage with provided screws.
There is one last thing to do, bottom wing cover that is made of very fragile plastic. You need to cut that plastic with hobby knife at marked lines that are barely visible and glue it with CA to the wing.

Again, I didn't use CA but just standard transparent tape.
And that is it. Now you can install electronics of your choice.
My setup:
Motor: RCTimer BC3548-6 790KV Outrunner Brushless Motor
ESC: HobbyKing 60A ESC 4A UBEC
Servos: Corona DS329MG Digital Metal Gear Servo 3.8kg / 0.11sec / 32g
Propeller: 11x7 wooden propeller
Battery: 4S 4000 mAh LiPo
With this setup I have around 10 minutes of flight.
Maiden Flight
Nothing to say, everything is in the video
Please support my blog by using these affiliate links:
Banggood: https://goo.gl/cn1B2P
Gearbest: https://goo.gl/D2pTdJ
or become a patron at https://www.patreon.com/RcFlyAddict


No comments:
Post a Comment